> ## Documentation Index
> Fetch the complete documentation index at: https://docs.encord.com/llms.txt
> Use this file to discover all available pages before exploring further.
# Oracle
The following steps outline how to create an Oracle integration in Encord.
## 1: Create a User for Encord
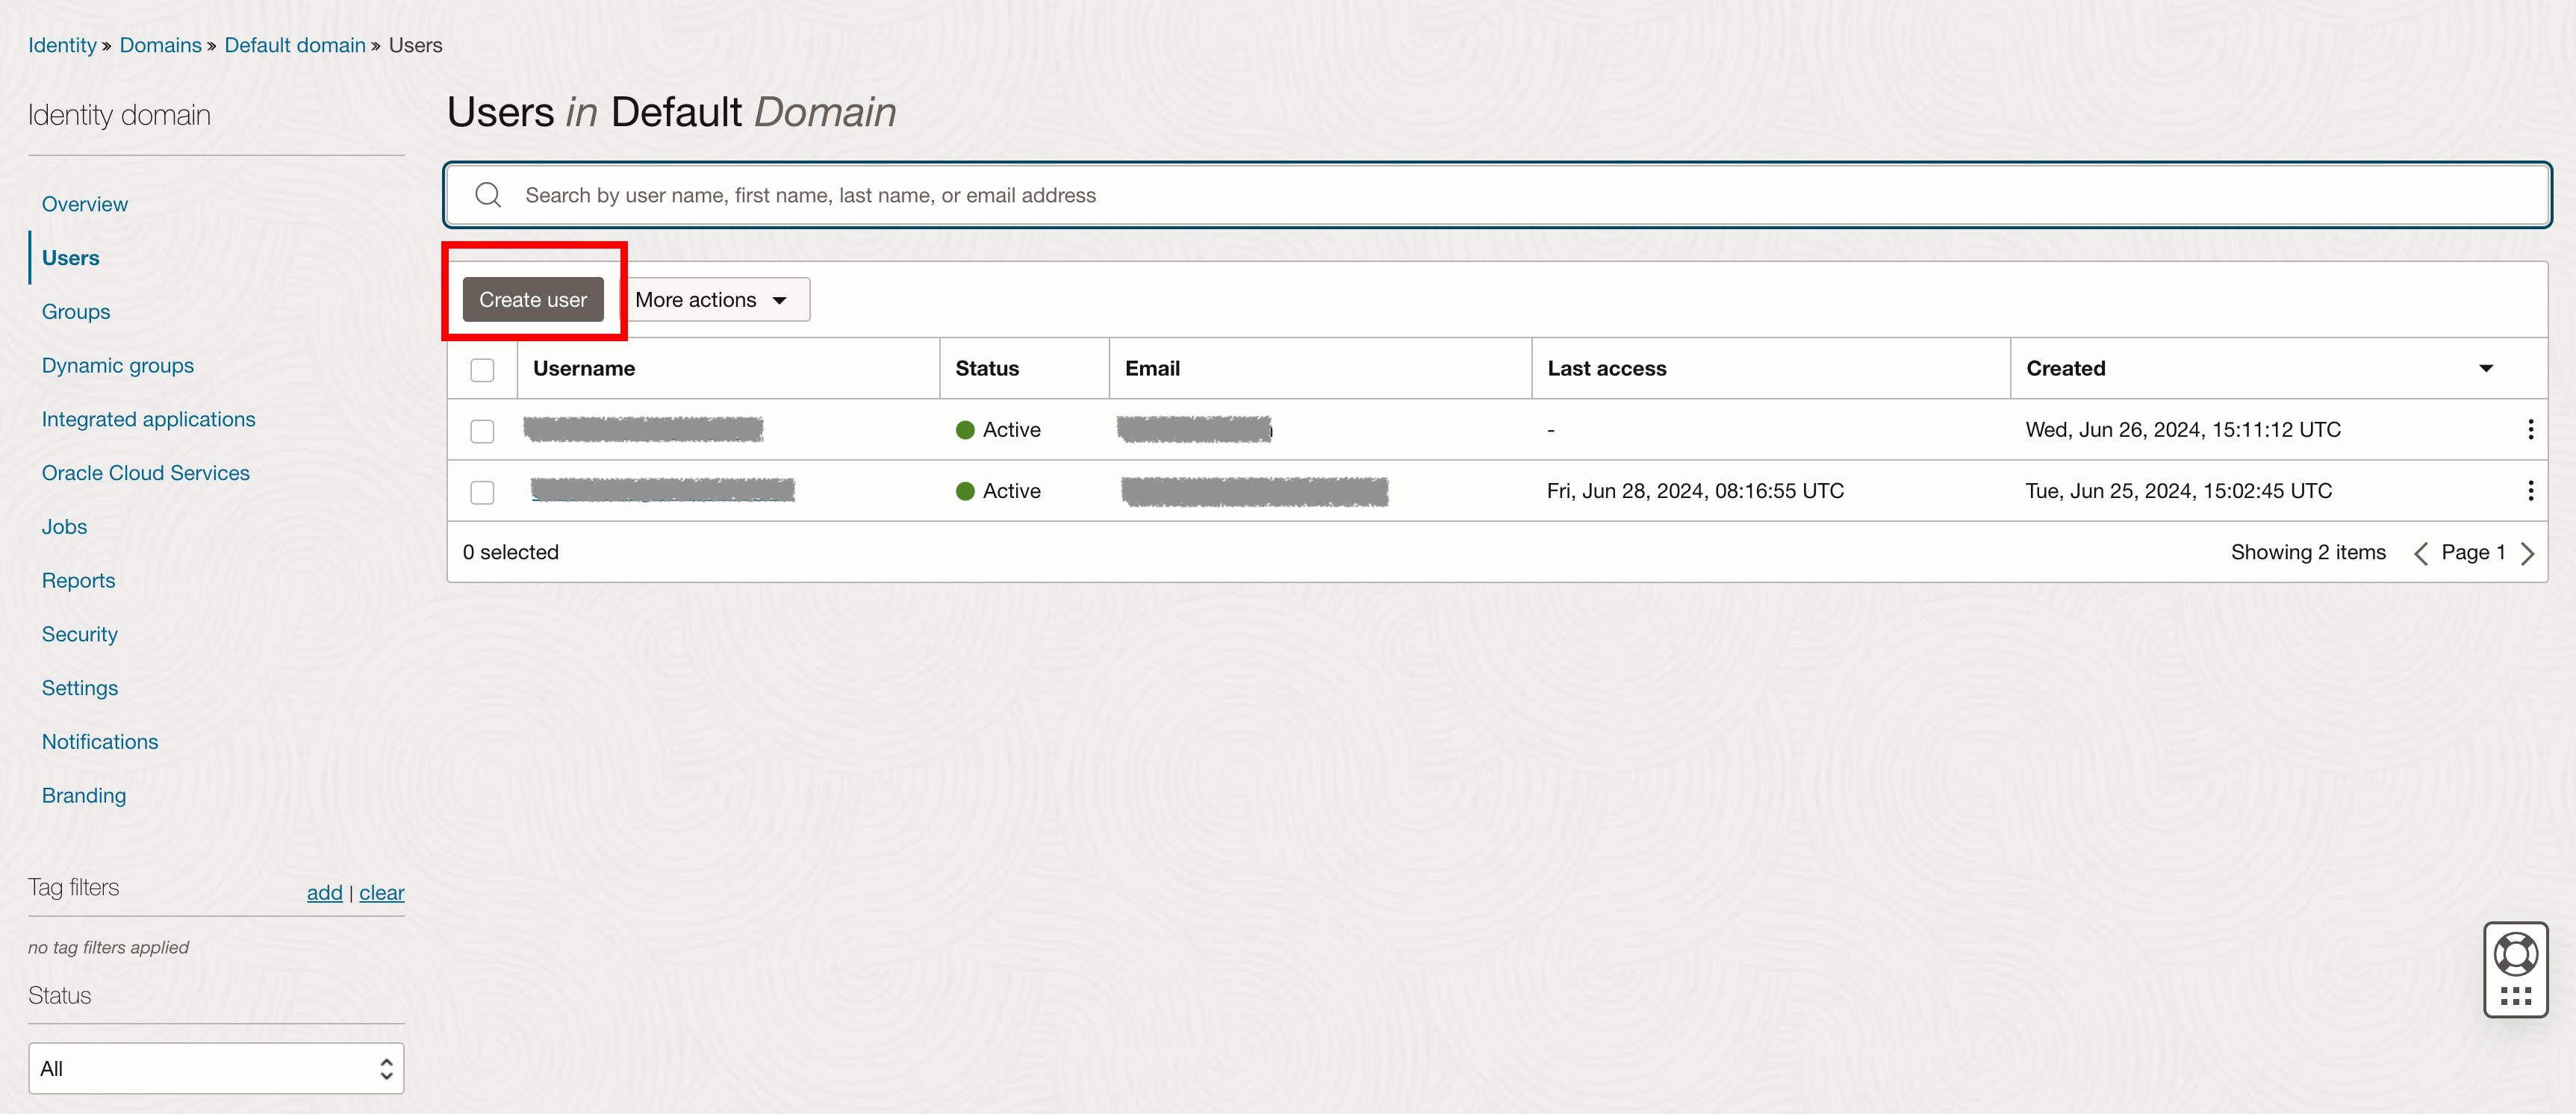
1. In Oracle, navigate to *Identity* and click on *Domain*.
2. Select your domain.
3. Navigate to *Users* and click **Create user**.
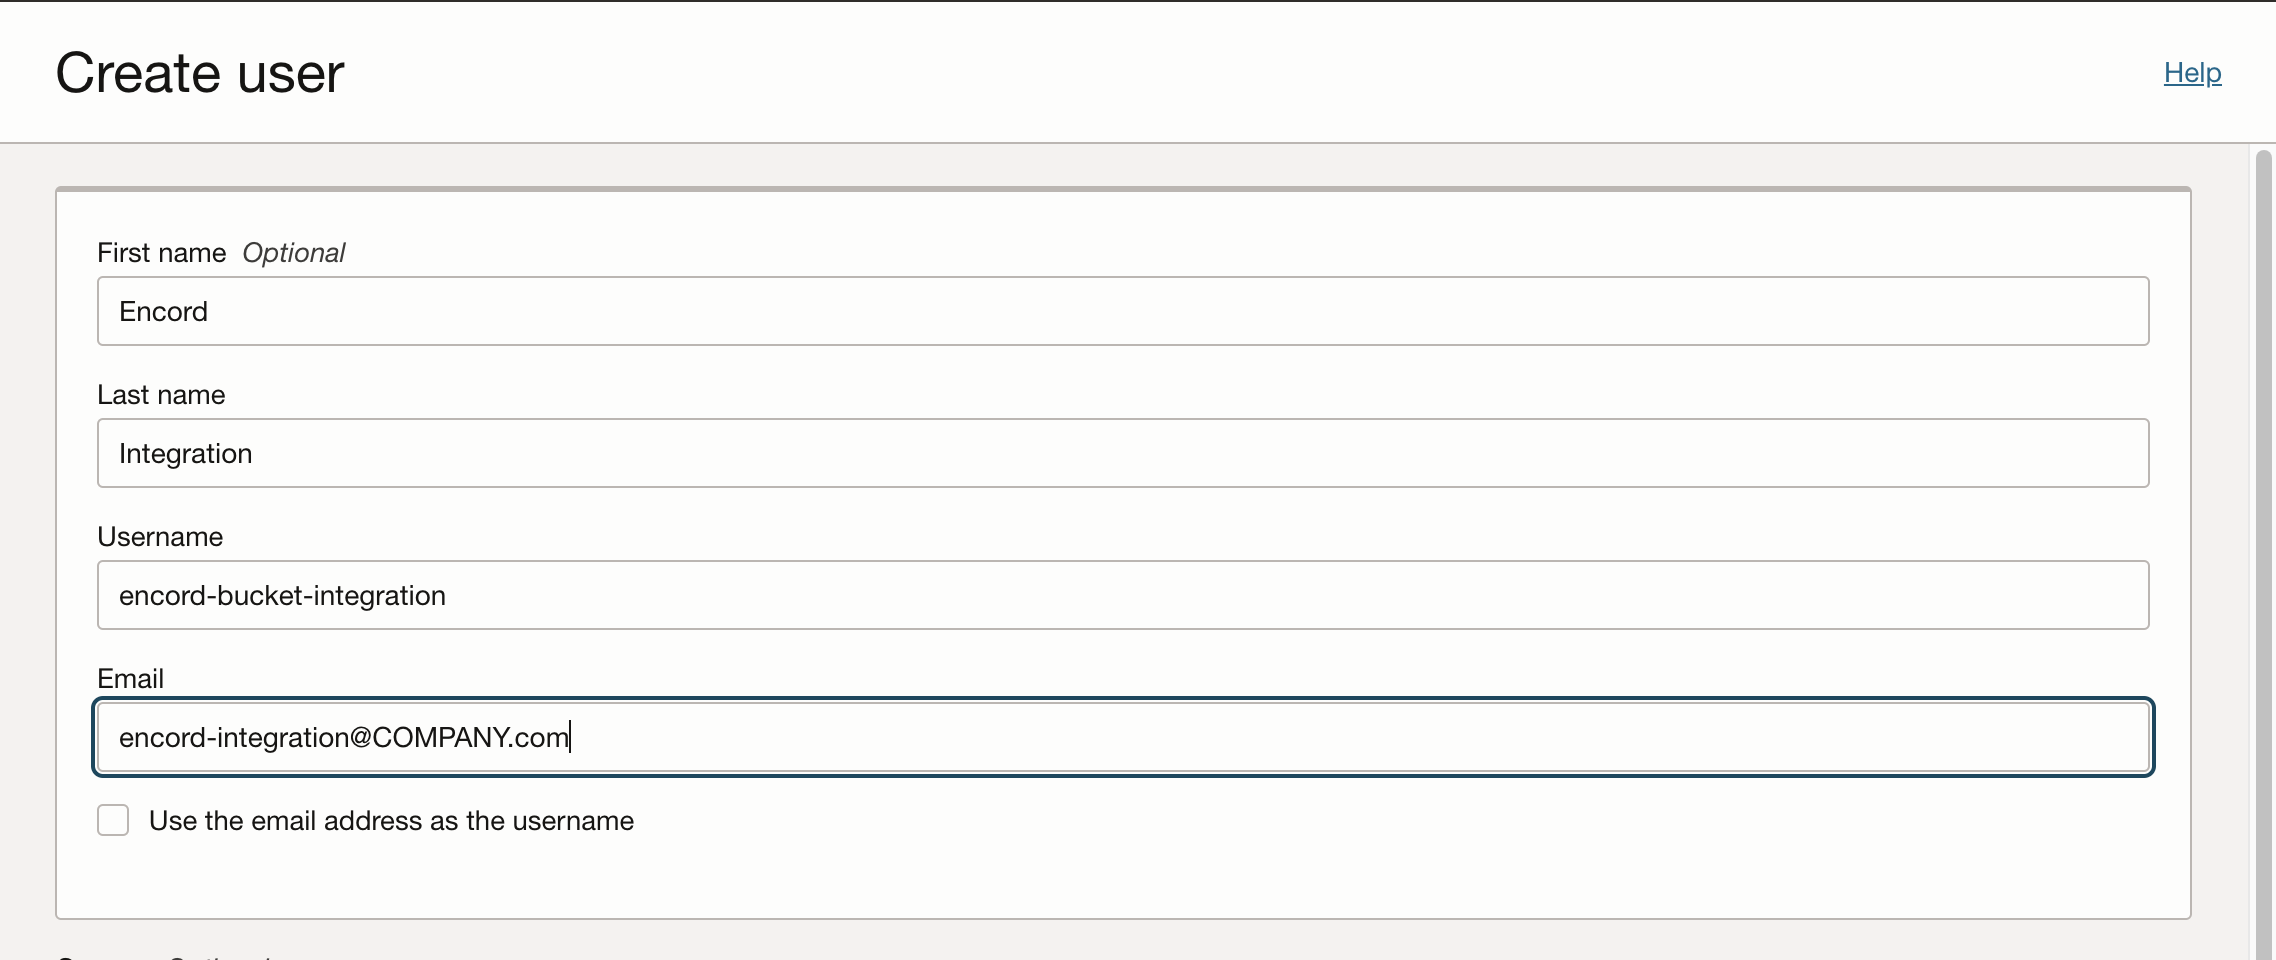
A dialog box will appear, prompting you to enter details for the new user.
4. Fill in the details for the new user.
## 2: Create an Access Key for the User
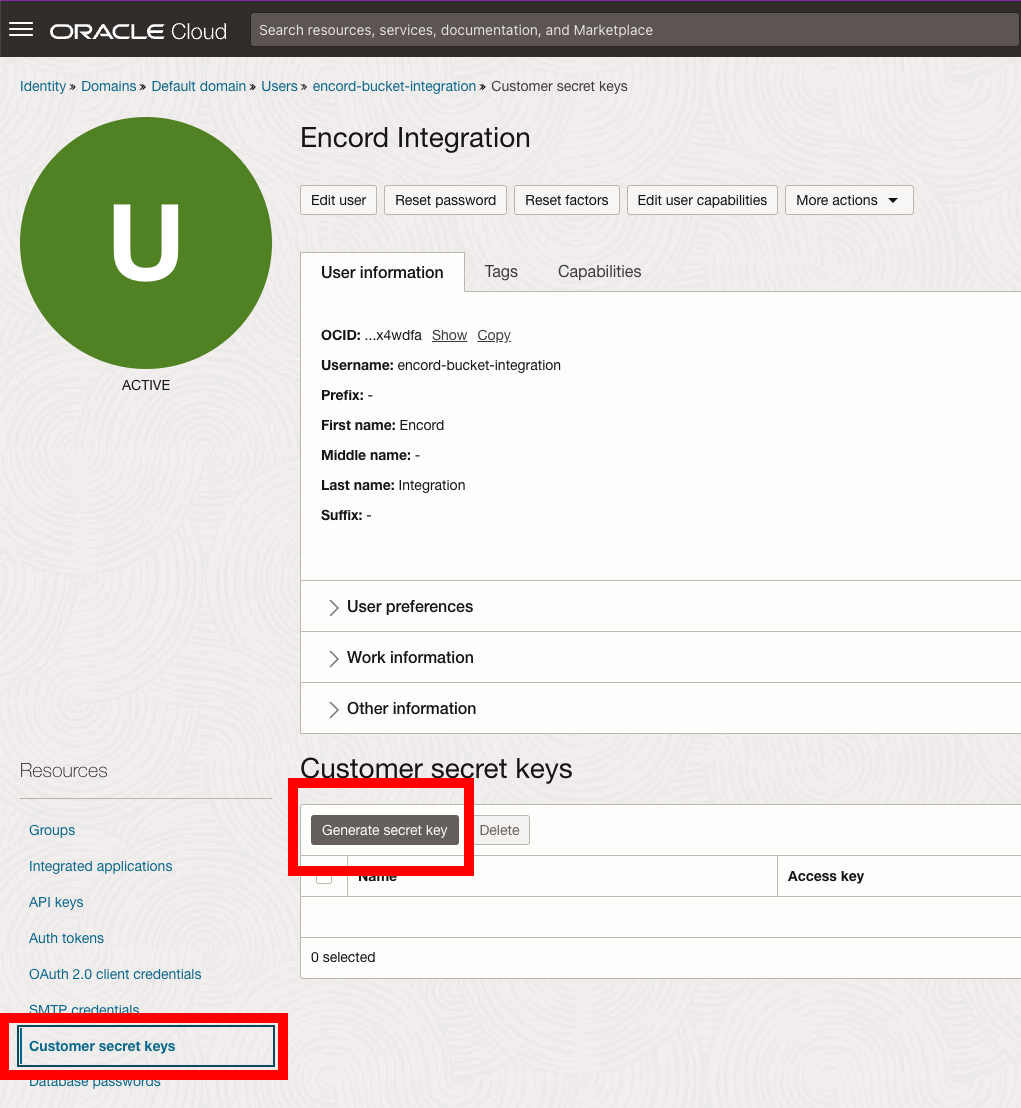
1. Select the user you created in Step 1.
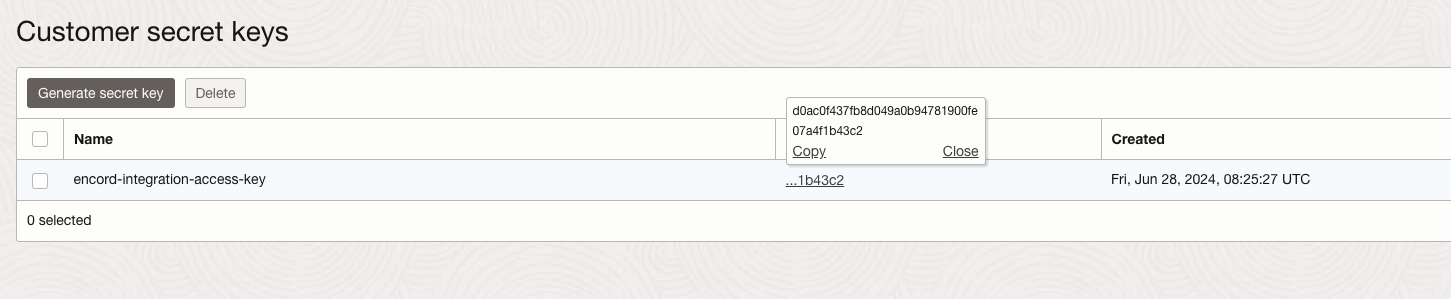
2. Navigate to *Customer secret keys* in the left hand navigation.
3. Click **Generate secret key**.
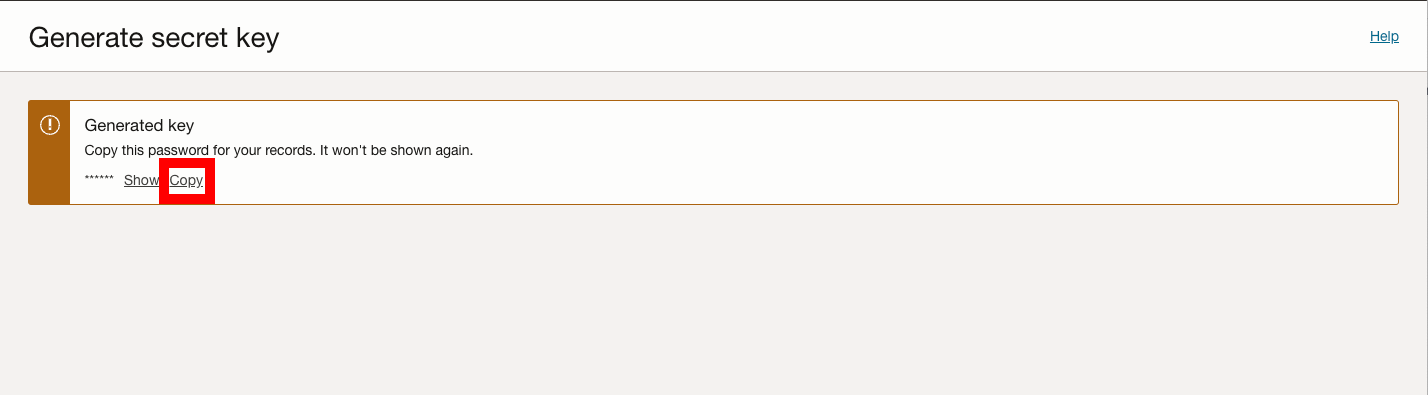
A dialog appears.
4. Give your access key a meaningful name and create the access key.
The access key and secret key are generated.
5. Click **Copy** to copy the secret key. Store it in a secure location - you will need it later.
6. Hover over the access key, and click **Copy** to copy the access key.
## 3: Create a Group for the User
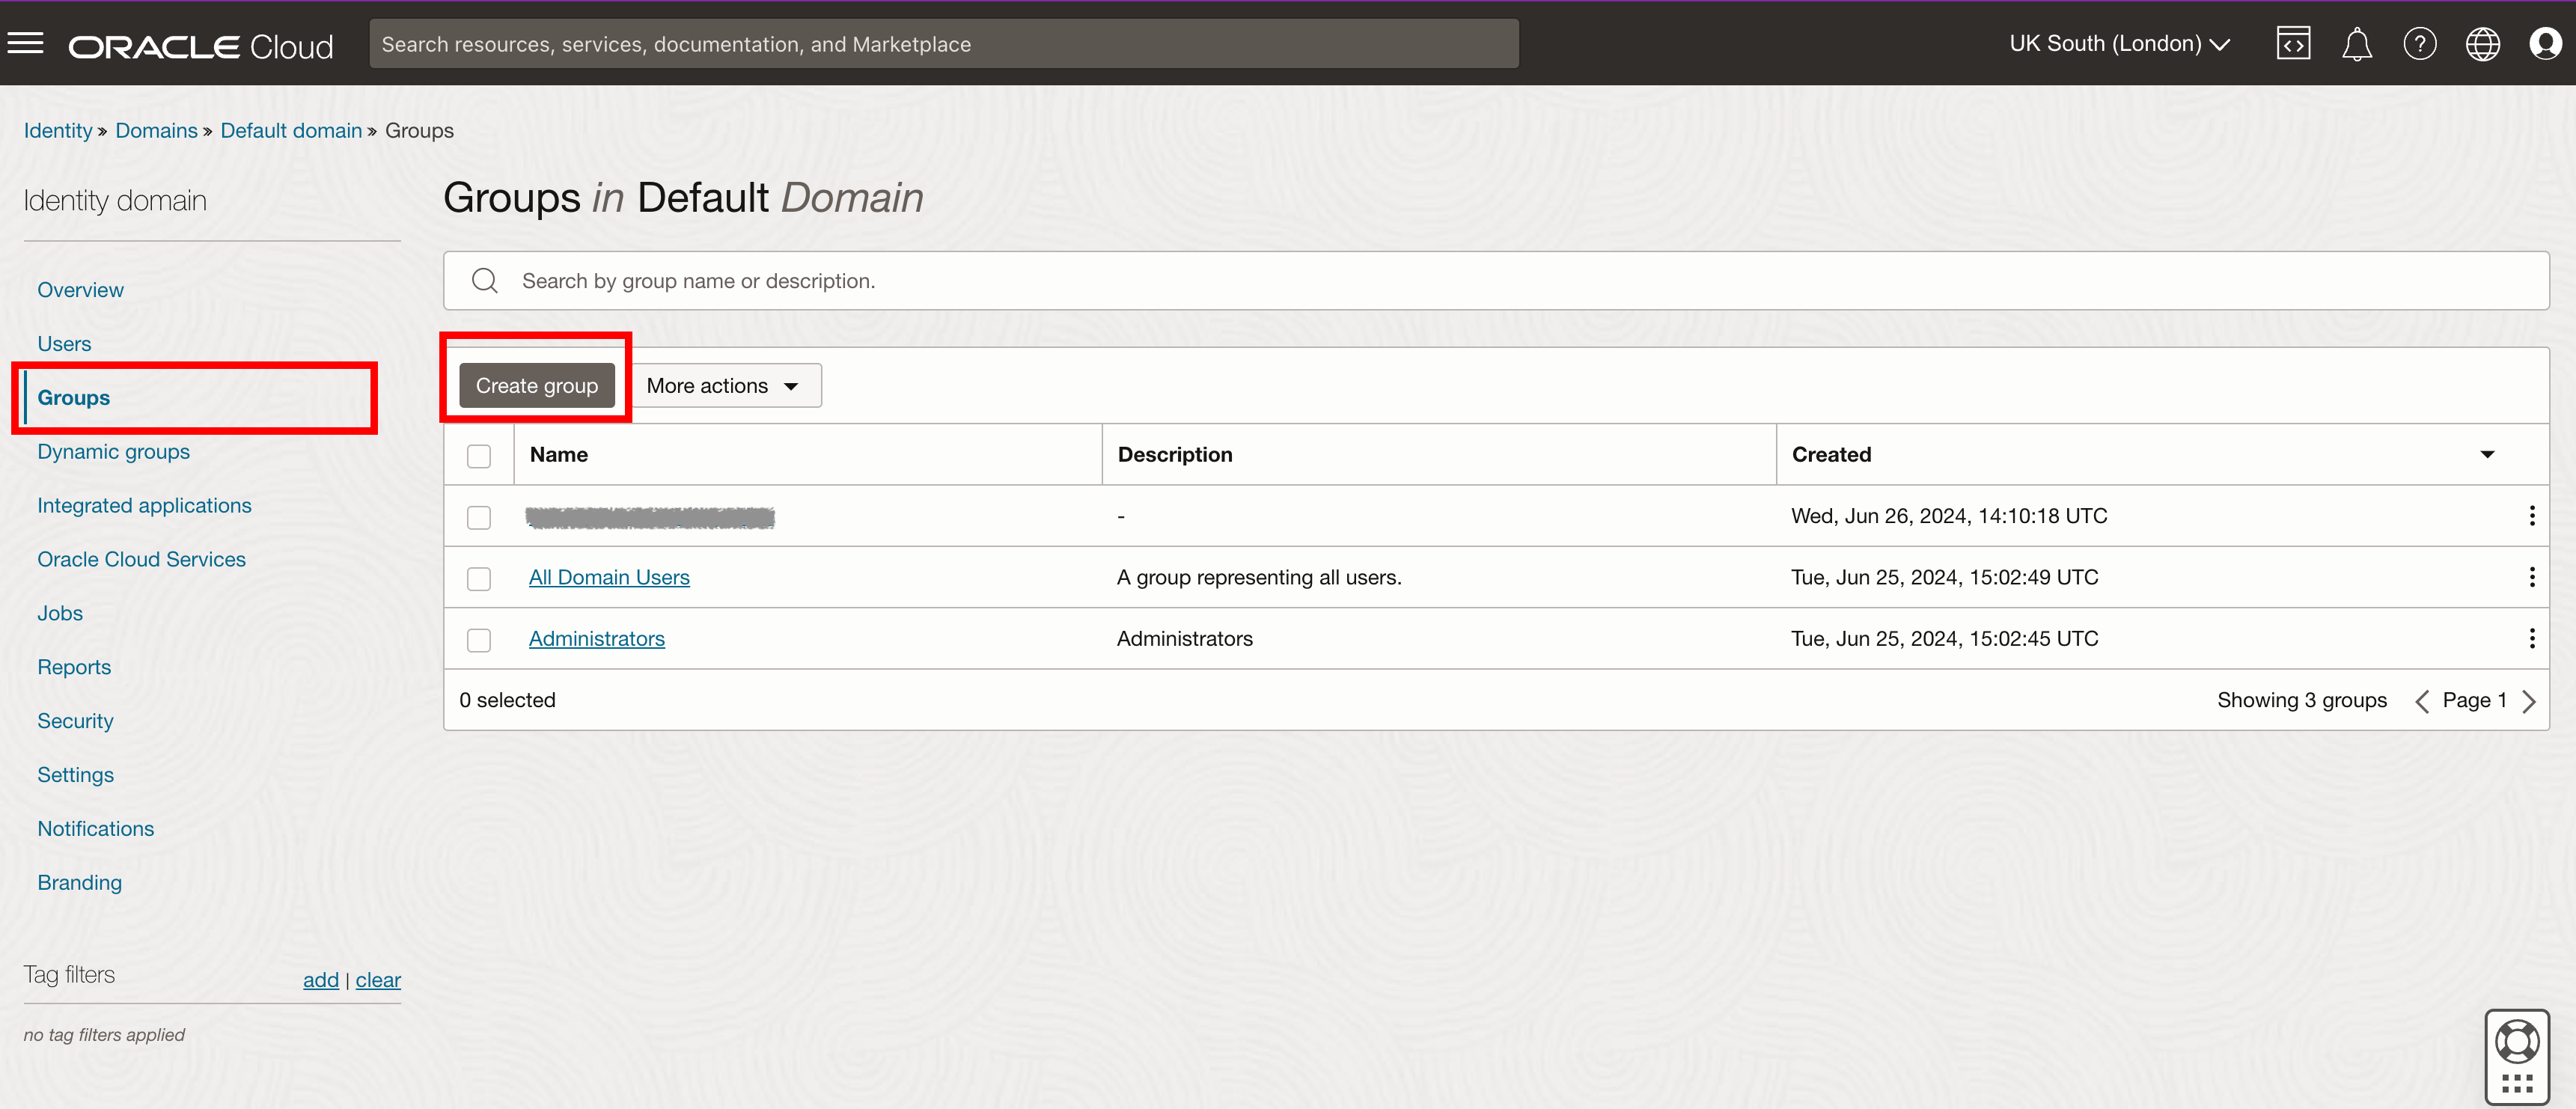
1. In Oracle, navigate to *Identity* and click on *Domain*.
2. Select your domain.
3. Navigate to *Groups* and click **Create group**.
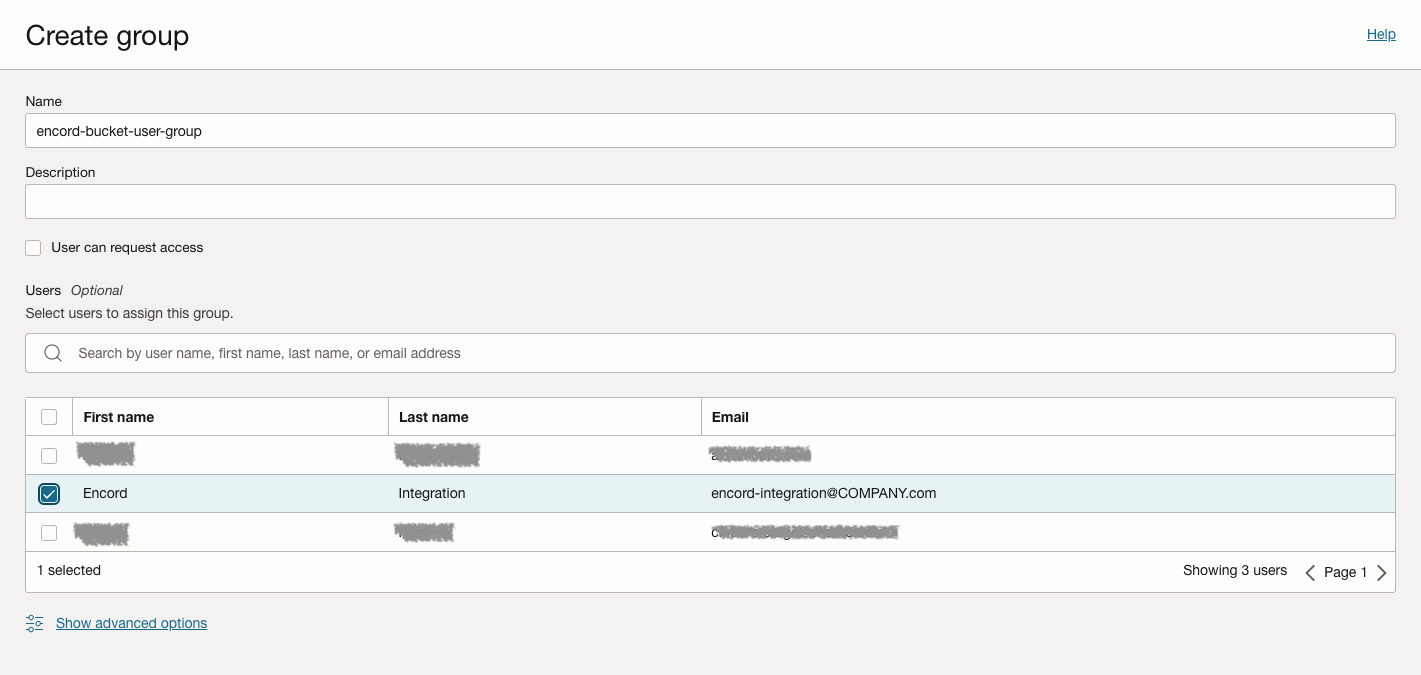
A dialog box will appear, prompting you to enter details for the new group.
4. Enter a meaningful name for the group and add the user you created in Step 1.
## 4: Create a Policy
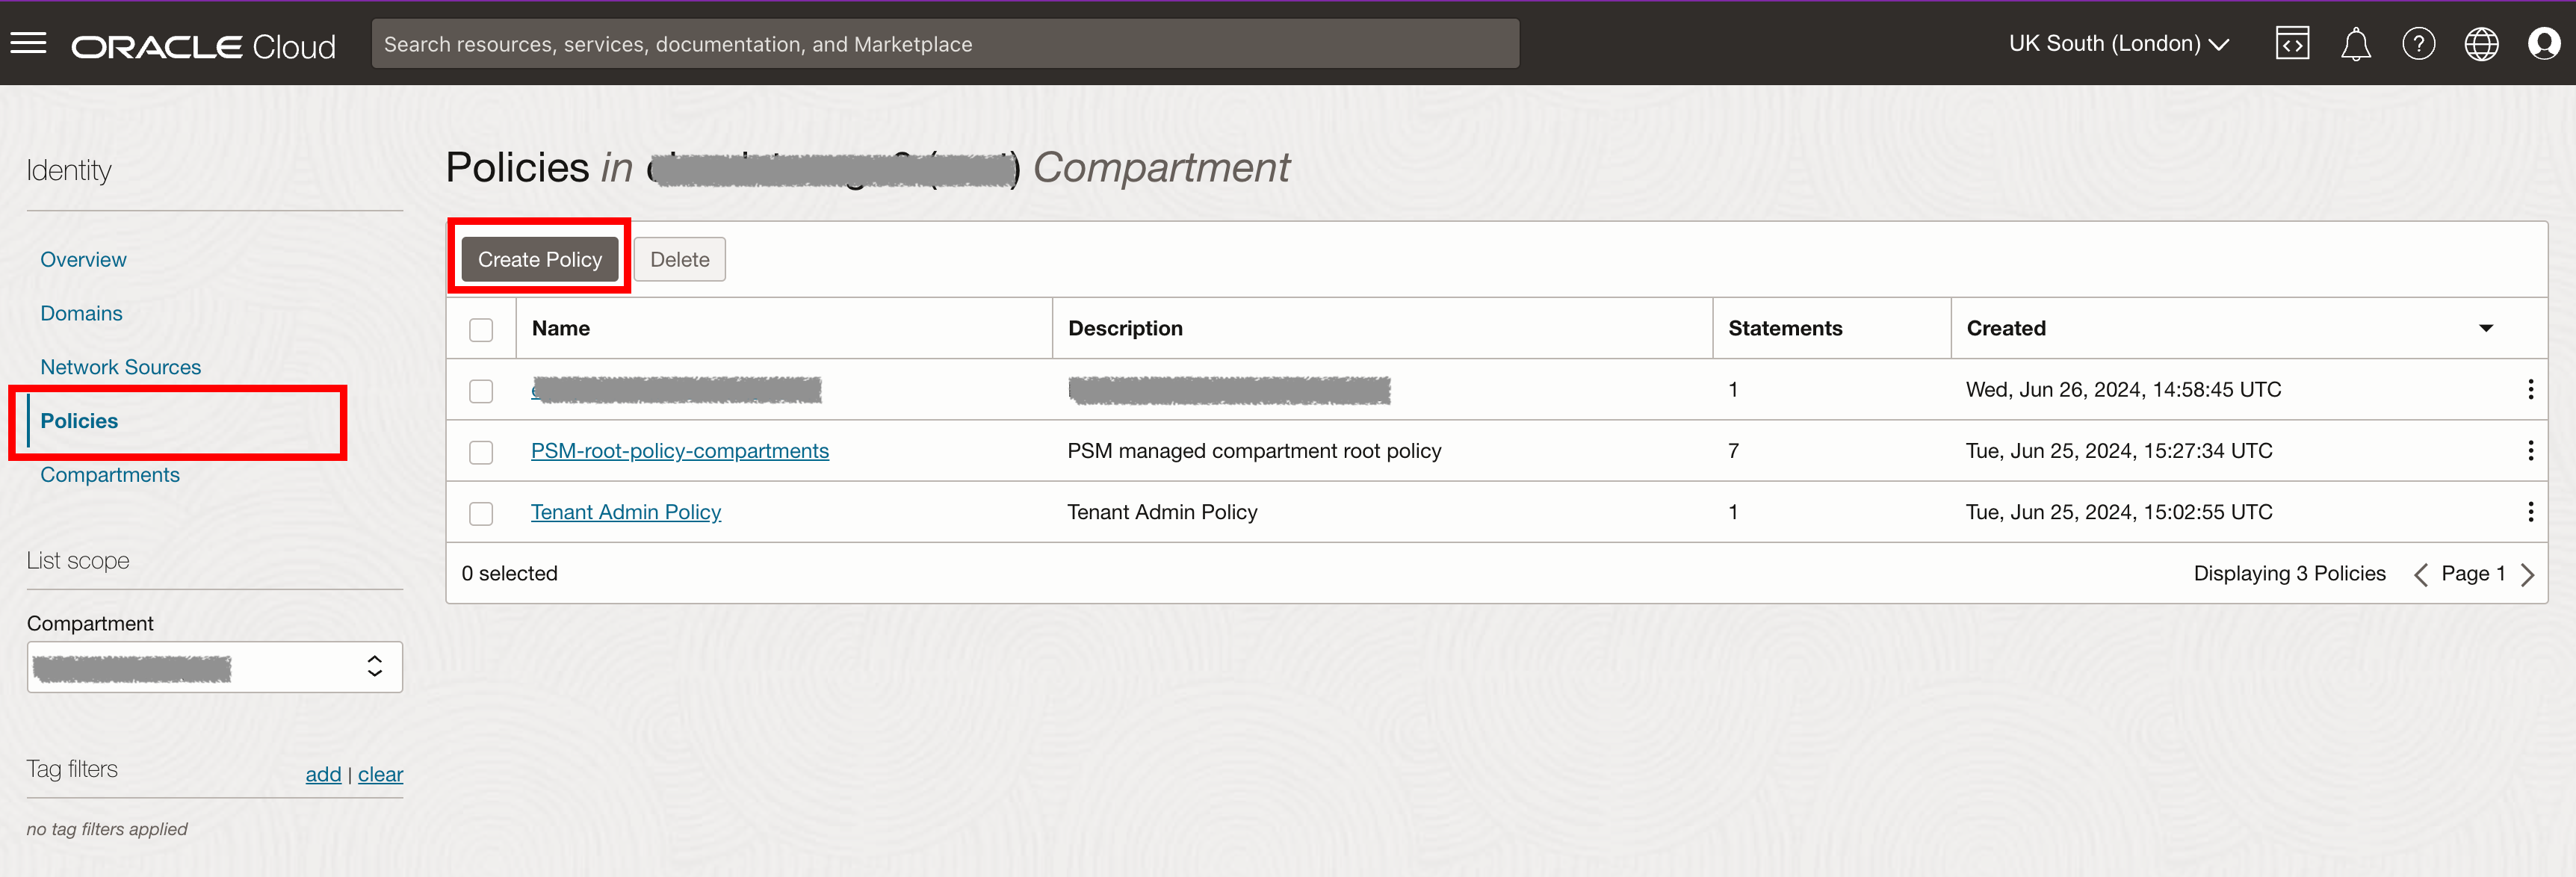
1. In Oracle, navigate to *Identity* and click on *Policies*.
2. Click **Create policy**.
A dialog box will appear, prompting you to enter details for the new policy.
3. Give the policy a meaningful name and description.
4. Enable the *Manual policy editor* toggle and paste the following into the policy editor, replacing \ with the name of the group you created in Step 3, and replacing \ with the name of your storage bucket.
`Allow group to read objects in TENANCY where target.bucket.name=''`
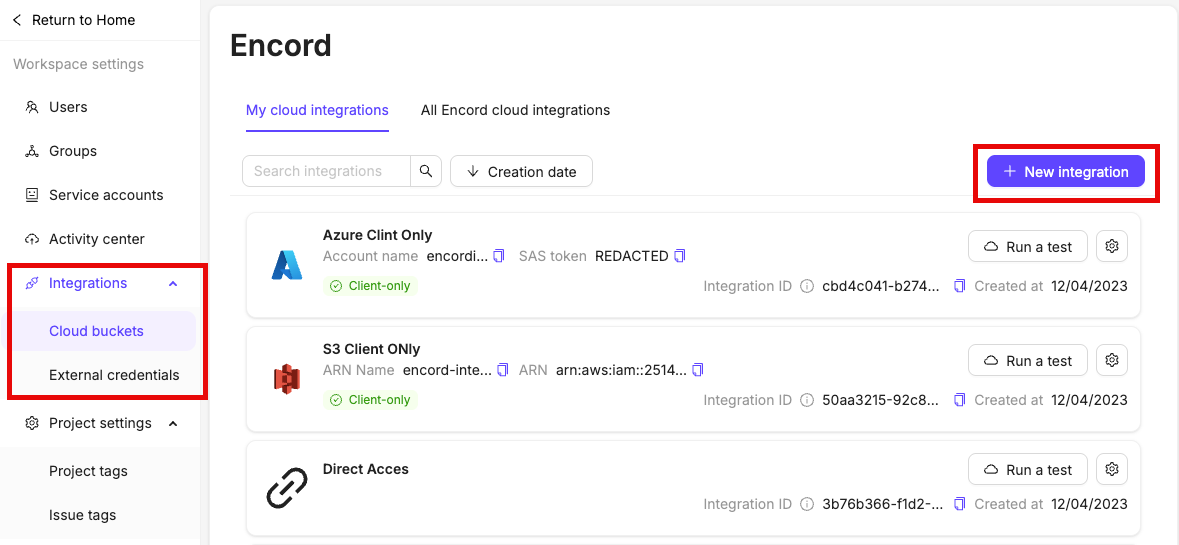
## 5: Create the Integration
1. In the *Integrations* section of the Encord platform, click **+New integration** to create a new integration.
The integration dialog appears.
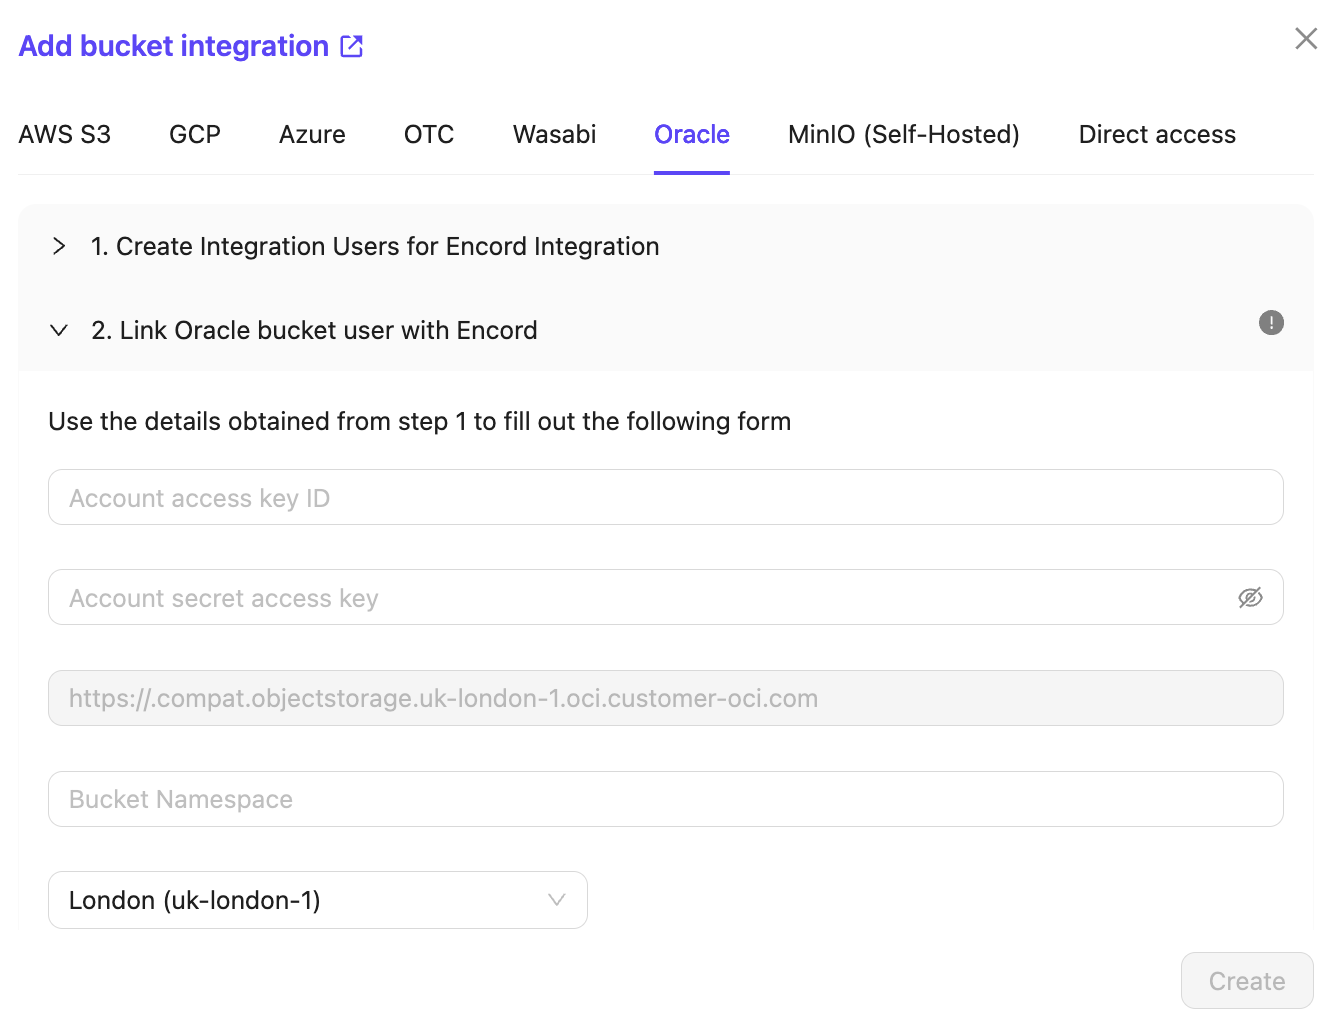
2. Select *Oracle* in the integration dialog.
3. Paste the *Account access key* and the *Account secret access key* from Step 2 into the integration dialog.
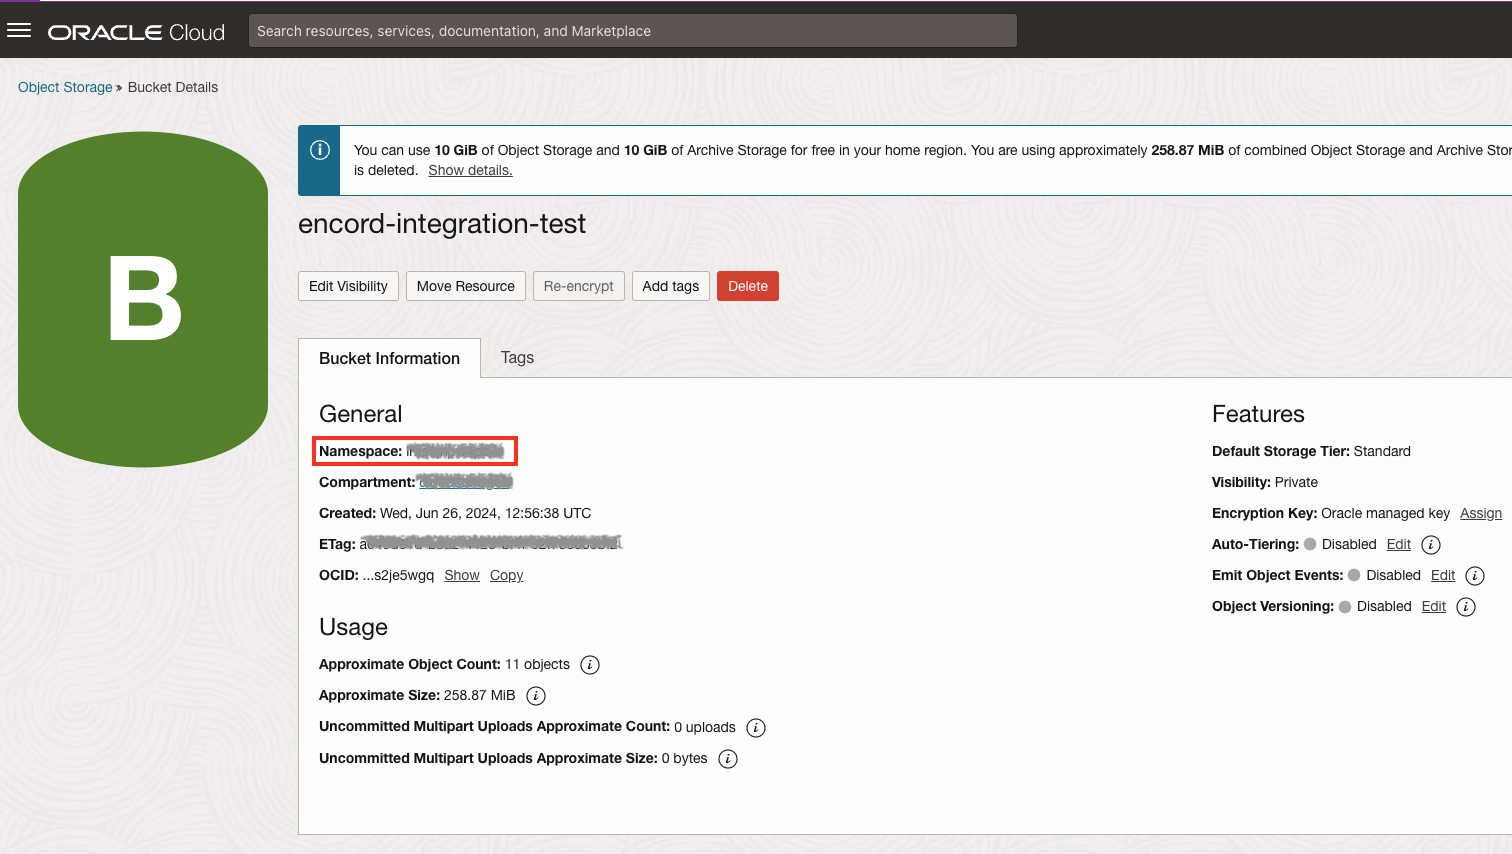
4. Enter the bucket namespace of your storage bucket into the integration dialog. The bucket namespace can be found in your bucket details in Oracle.
5. In Encord, click **Create** to create the integration.