

Set Up Custom Agents
First you must create and host the HTTPS endpoint that acts as your agent. At a high level, your backend should:- Accept a JSON payload from Encord describing the current project, data item, and frame.
- Use the Encord SDK or API (and any external models you choose) to perform work.
- Write results back to Encord (for example, updating labels or classifications).
- Return a successful HTTP status code so the editor knows the request completed.
Installation
We recommend installing the Encord agents library in an isolated environment. To installencord-agents in your current environment, run:
Register Custom Agents
Only HTTPS endpoints are supported for Custom Agents.
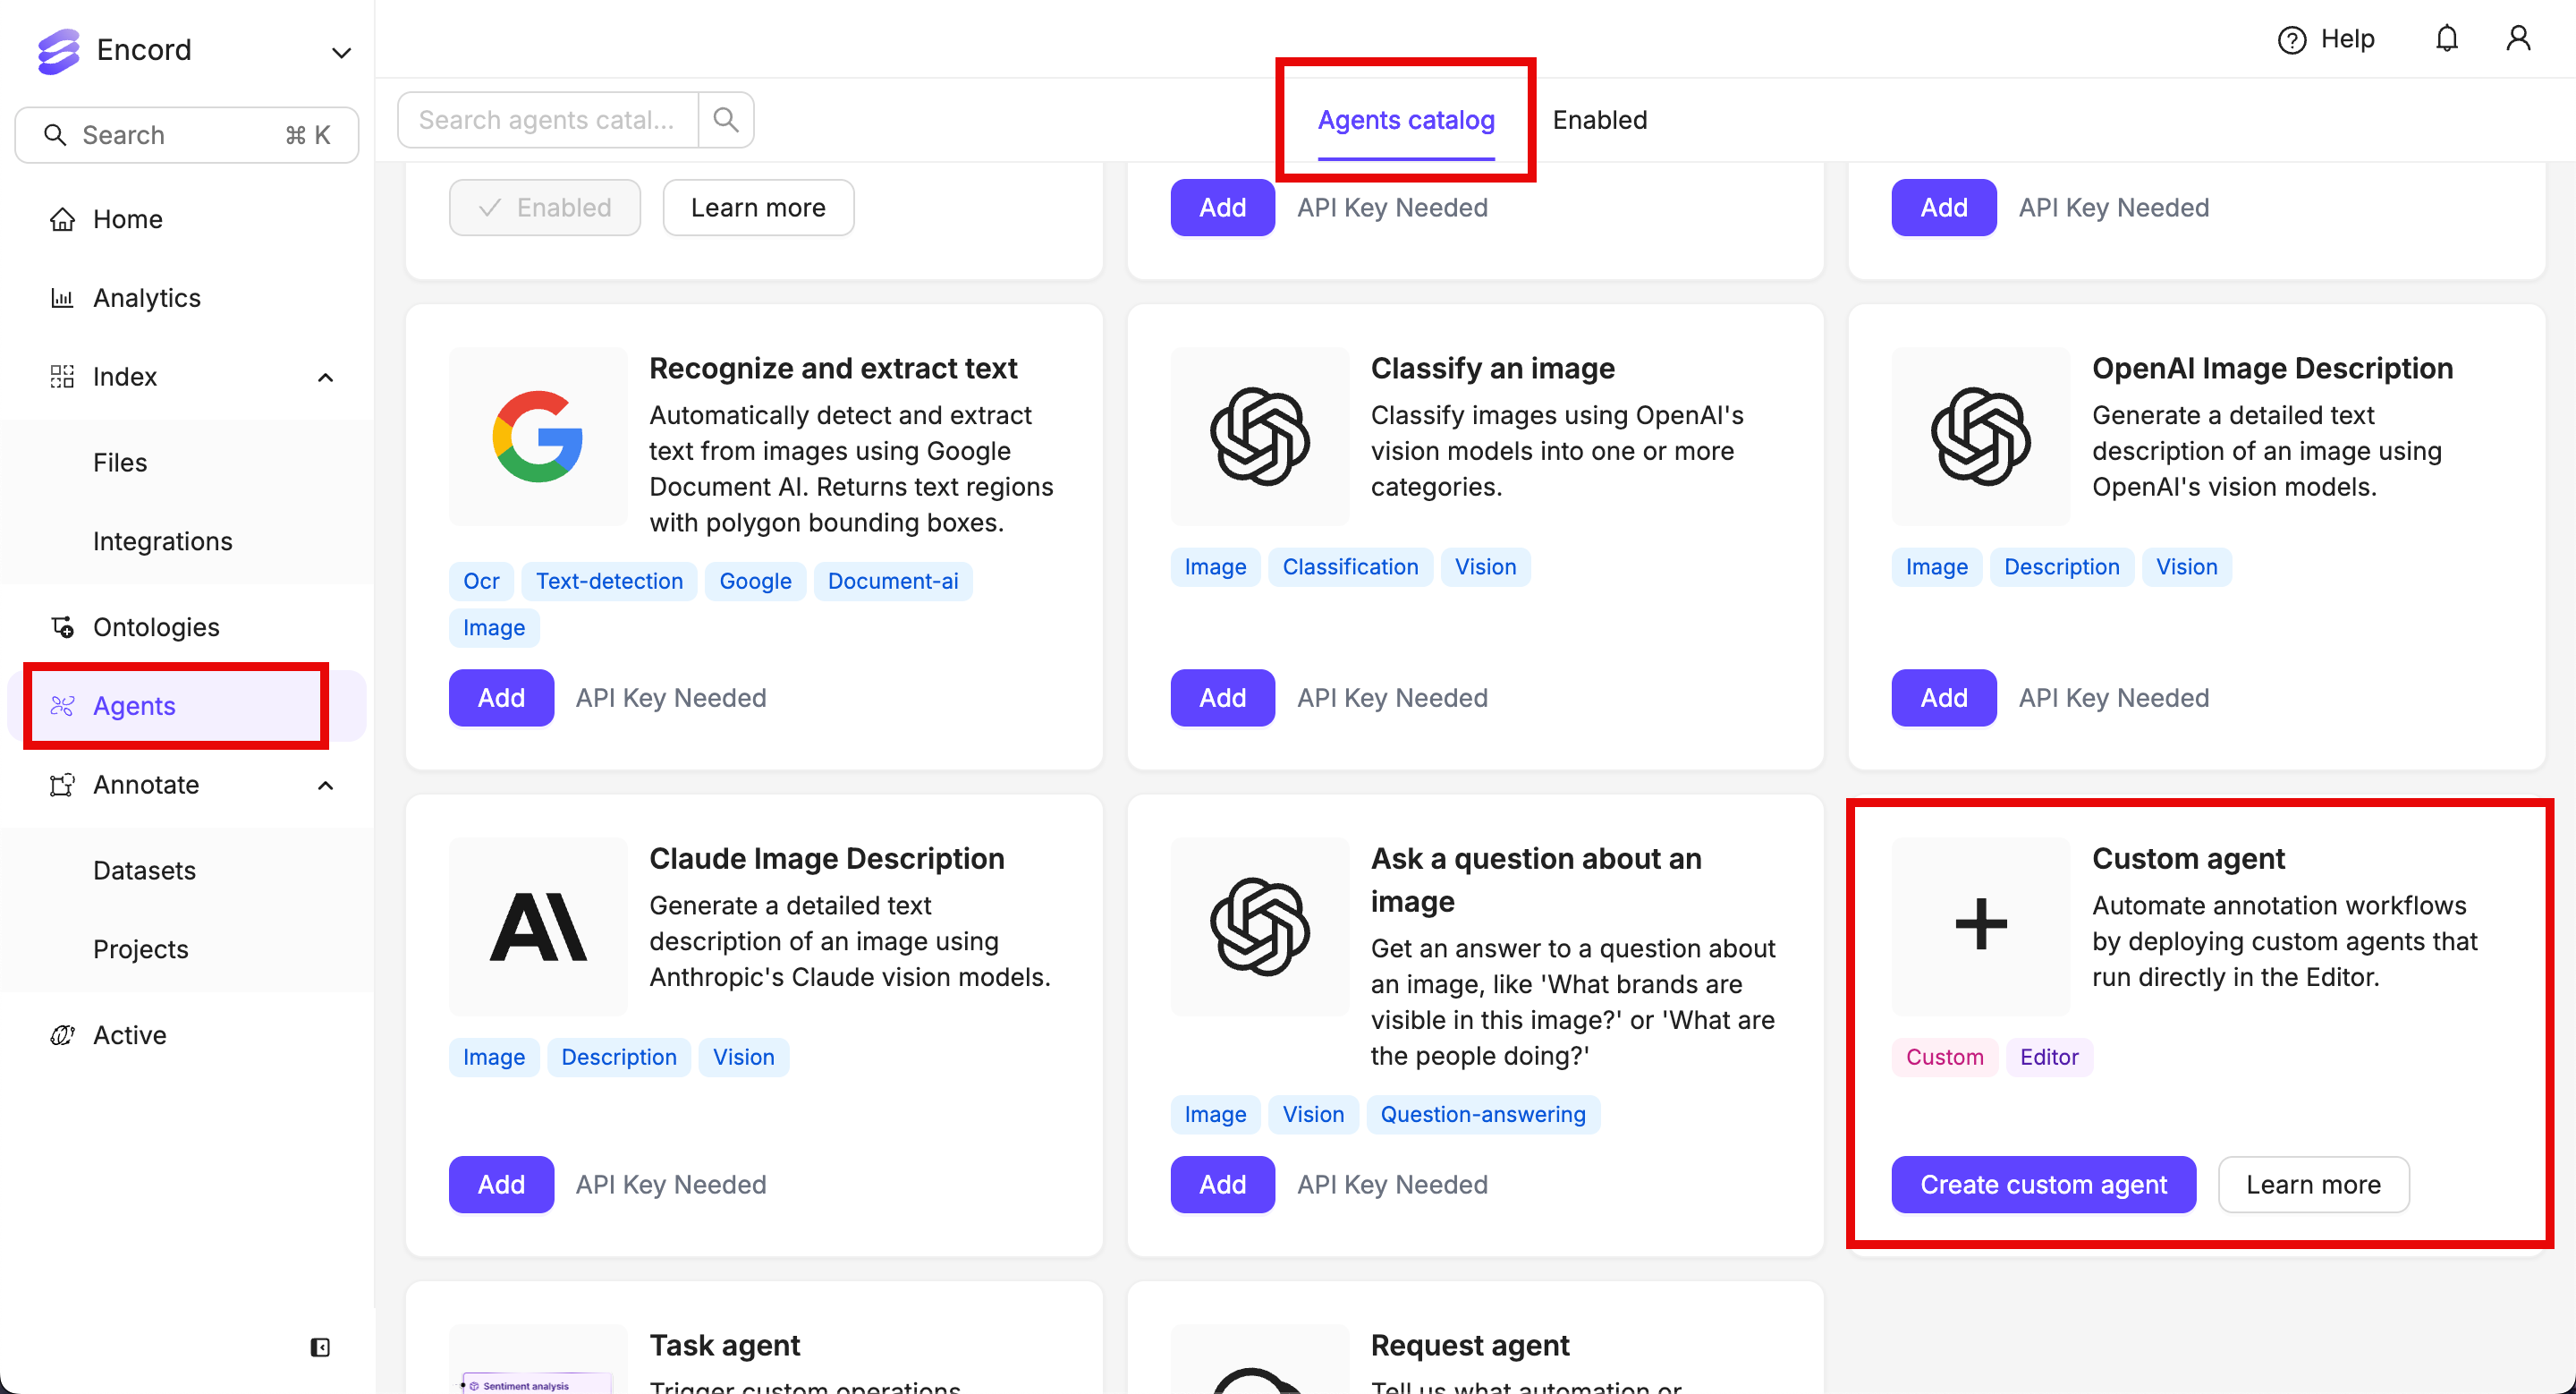
- Go to Agents in the left-hand navigation.
- In the Agents catalog tab, select the Custom agent tile.
- Fill in the form:
- Give the agent a clear name and description.
- Provide the public HTTPS endpoint that Encord should call.
- Enter possible decisions that the agent can return (for example, “approve” or “reject”). These decisions are represented as pathways in the Workflow. If your agent does not return decisions, you can leave this field blank.
- Save the configuration to register the Custom Agent.
Testing Custom Agent Endpoints
You can test your custom agent endpoint directly from the Encord platform to verify it’s working correctly before using it in production.
- Navigate to your agent in the Enabled tab.
- Click the Test tab in the agent details page.
- Configure the test payload with sample data (project hash, data hash, and frame number).
- Click Test agent to send a request to your endpoint.