Workspace Access Keys (Recommended)
Service Account Access keys are tied to the Workspace they are created in and grant access to all resources that the Service Account has access to within the Workspace.
Admins can create 1 Service Account per Workspace. Contact us at support@encord.com if you need more than 1 Service Account.
-
Go to Workspace Settings > Service Accounts.
The Service Accounts page appears.

-
Click Create service account.

- Provide a meaningful name for the service account. The name provided is appended into the email address used by the service account.
- Provide a meaningful description for the service account.
- Click Create service account. A new service account appears in the Service Account list.
-
Click into the service account.

-
Click New API key.

- Type a meaningful title for the key.
- Click Generate key pair
- Click Add API key. A file downloads to your computer containing the key.

- Return to the Service Accounts page.
- Apply a role to the Service Account:
- Admin: Executive privileges over Workspaces such as adding and removing users, and the ability to view all Projects.
- Member: No administrative privileges over Workspaces. Can only view Projects they create, or have been invited to.
User-Level Access Keys
User-level Access Keys are tied to the user and grant access to the same resources that user can access in the Workspace. When the user is removed from the Workspace, the Access Key stops working.
- Click the user icon in the bottom-left corner of the UI.
- Select User settings.
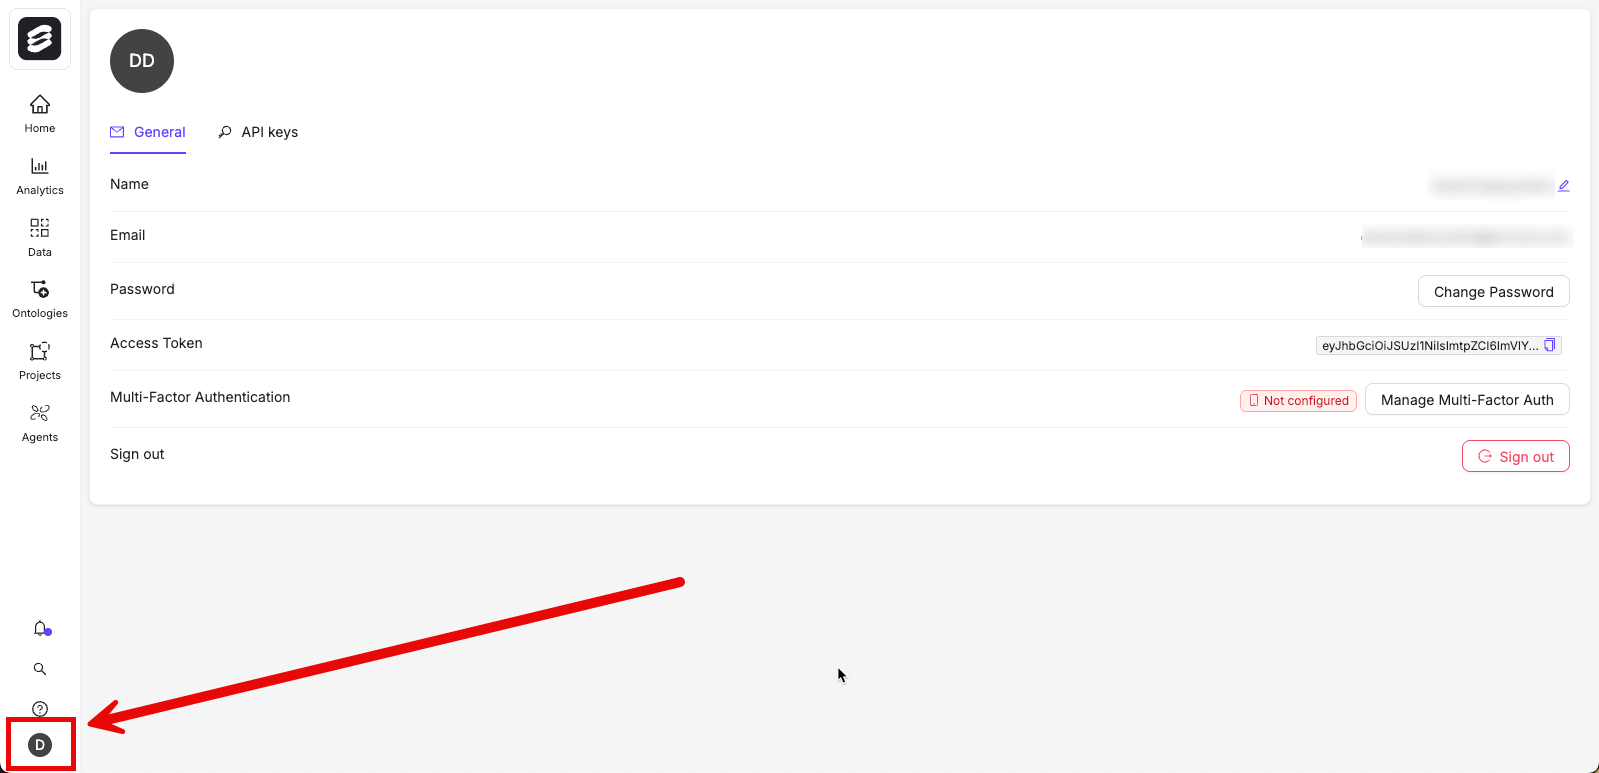
- Click the API keys tab.
- Click the New Key button to add or generate a new key.
- Give the key a meaningful name.
-
Click Generate key pair to generate a new Access Key pair.
The public key field is automatically populated, and a
.txtcontaining your corresponding private key is downloaded.

- Click Add API key to add your key. The key is now listed in the API keys section along with an ID that serves as a unique identifier.
Key names do not have to be unique, but the keys themselves do. Attempting to upload a duplicate key results in an error.
Using Terminal / Powershell
Create Access Key Using Terminal / Powershell
Create Access Key Using Terminal / Powershell
Follow these steps to generate a public-private key pair using an encryption library. Encryption libraries are part of most major operating systems, therefore you can generate this key pair using the appropriate terminal for your OS: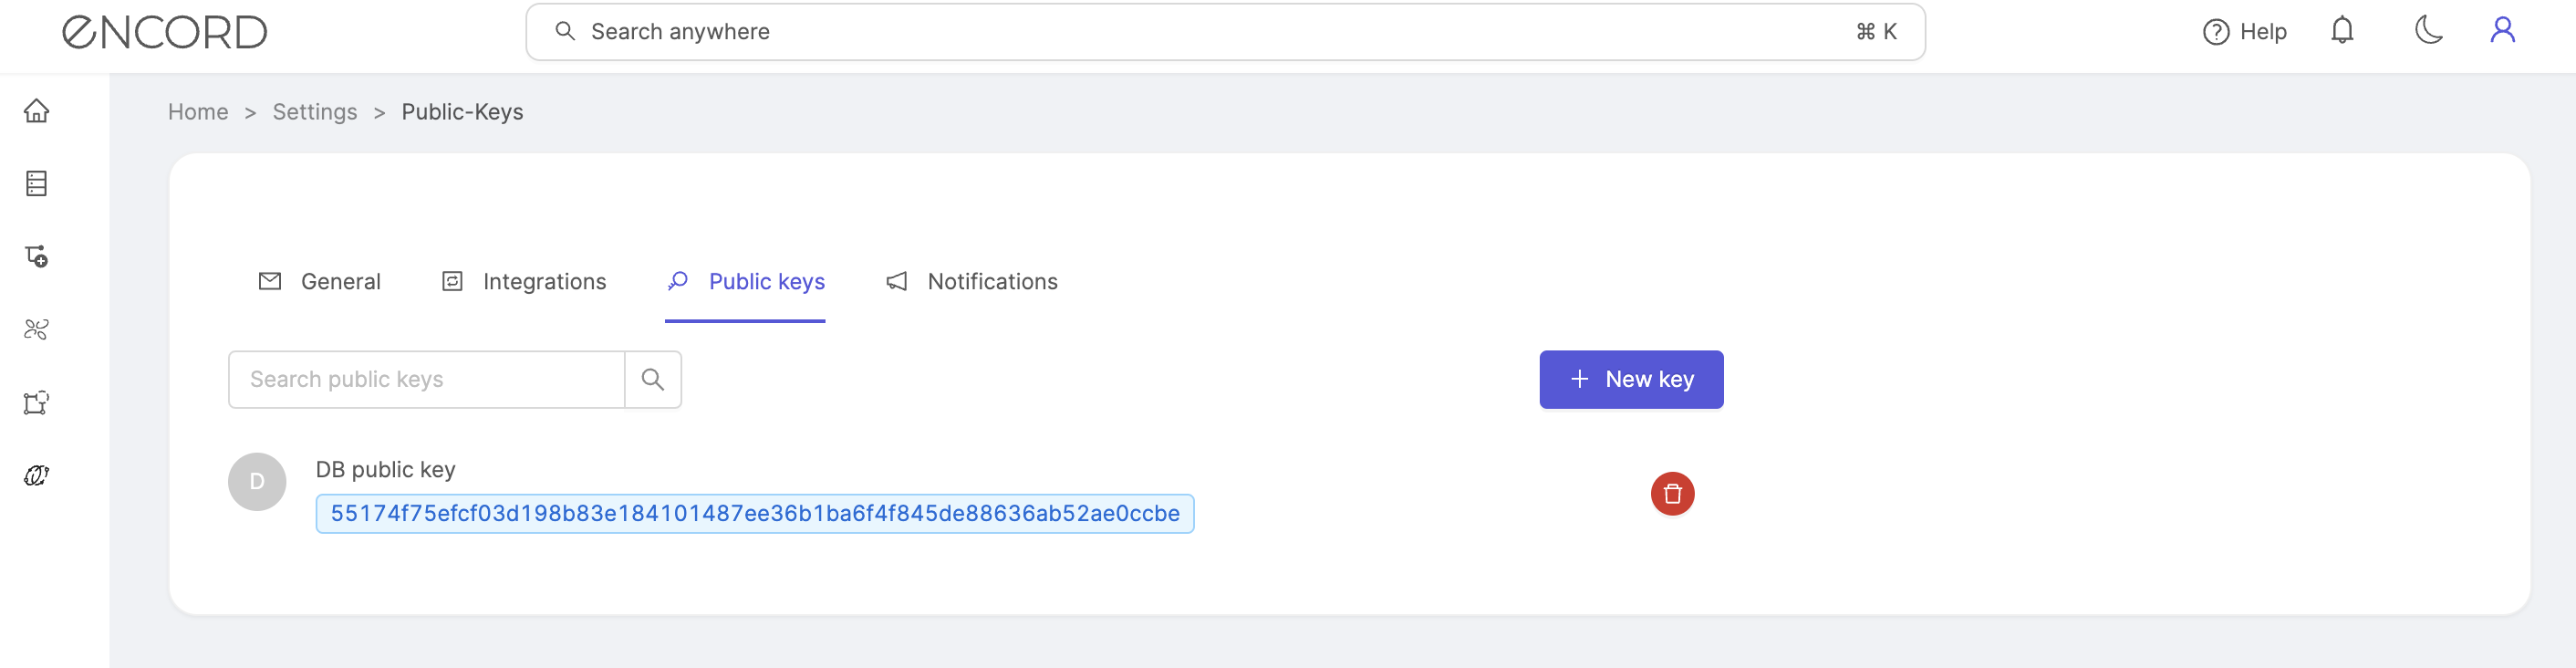
- Linux/macOS: the default terminal
- Windows 10 & Server 2019/2022: Powershell
- Open Terminal or Powershell.
-
Run the following command:
-
Press enter to accept the default file location or modify as required:
MacWindowsLinux
-
[IMPORTANT] Leave the passphrase blank:
/path/to/your/key/id_ALGORITHMcontains your private key (which you should keep secure);/path/to/your/key/id_ALGORITHM.pubcontains your public key (usually in a file ending in .pub).
-
Copy the contents of the public key file. For that, execute:
- Navigate to the ‘API keys’ section of the user settings to create, register and manage your public keys.
- Enter a title for your public key in the first field, and paste your public key in the second field. The Create button becomes available once both fields have been populated.
- Click Create to add your public key to Encord. It is listed showing the key’s name, and a signature that serves as a unique identifier.