Custom Metadata needs to be uploaded separately if you use this method to register your data with Encord.
File Support and Limits
- Cloud-synced folders support images, videos, PDFs, text, HTML, and audio files.
Image groups, image sequences, and DICOM series are not currently supported by Cloud-synced folders.
- A single cloud synced folder can contain a maximum of 10 million files.
Register Cloud Data using Cloud-synced Folders
1. Create an Integration
At least one data integration is required to register cloud data to Encord. Encord can integrate with the following cloud service providers:2. Create a Cloud-synced Folder
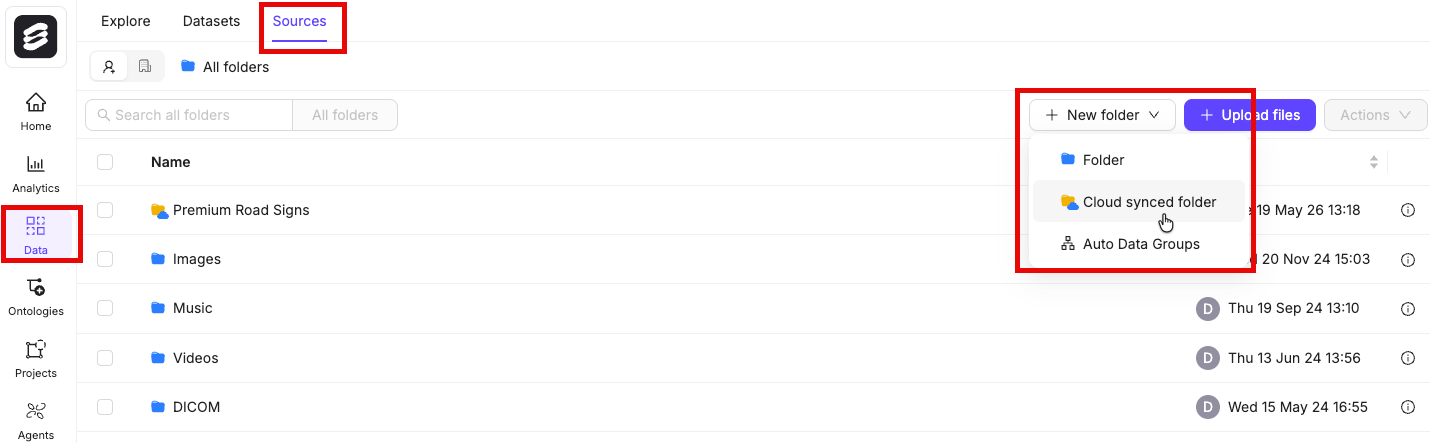
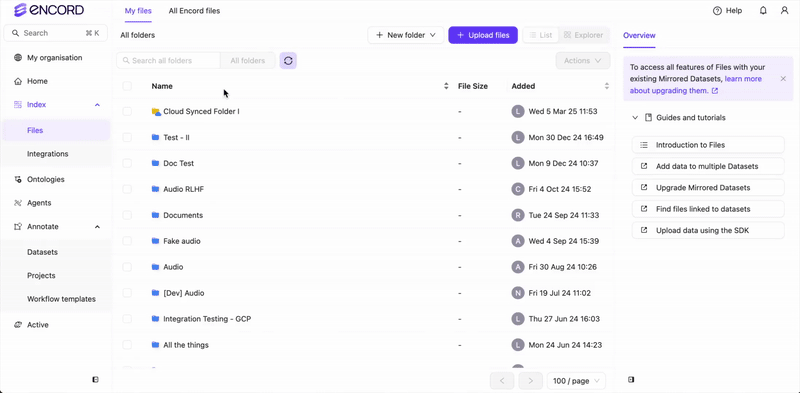
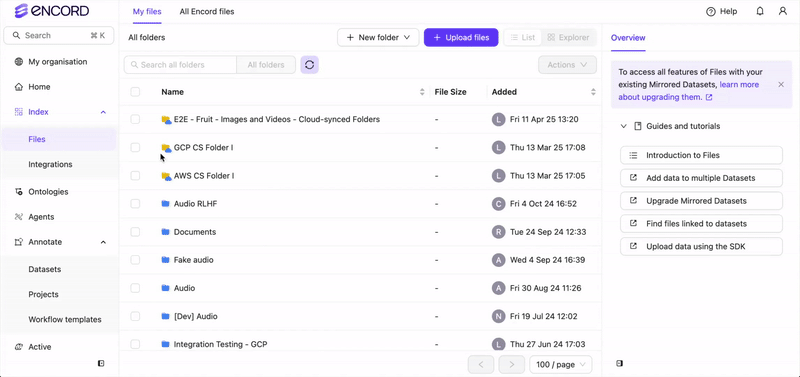
- Go to Data > Files & Folders.
- Click New folder > Cloud-synced folder. The New Cloud-synced folder dialog appears.
-
Provide the following:
- Title: Provide a meaningful name for the Cloud-synced folder.
- Description: OPTIONAL - Provide a meaningful description for the Cloud-synced folder.
- Select your integration: Select the integration to use from the drop down.
- Storage path: Specify the storage/file path to your cloud storage. For example:
gs://encord-gcp-bucket/CloudSync/ors3://encord-aws-bucket/CloudSync. - Automatically sync data: Automatically syncs data from your cloud storage to Encord once every 24 hours.
- Metadata ingestion: Enable this toggle to import custom metadata files from your cloud storage. Set your sidecar suffix (default is
.metadata.json). Any file matching that suffix is treated as metadata for its paired data file and does not appear as a separate item in your folder.
- Click Create. The page for the new Cloud-synced folder appears.
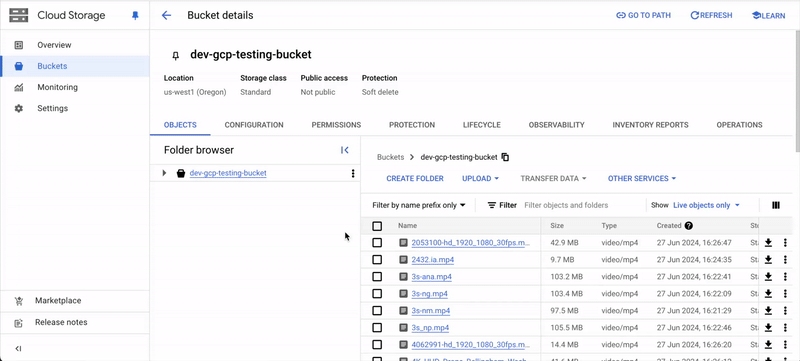
Find Storage Path
Finding the Storage path for your folder or object varies across Cloud Storage platforms. AWS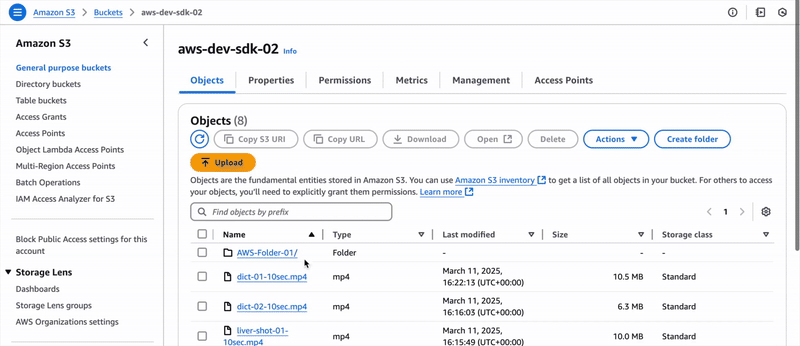 GCP
GCP
3. Sync Data Between Encord and Cloud Storage
-
Go to Data > Files & Folders.
The Cloud-synced folder page appears.
-
Click into your cloud-synced folder.
- Click Initiate sync. The sync between the folder and your cloud storage begins.
Resync Data Between Encord and Cloud Storage
As you add or remove data from your cloud storage you need to resync the Cloud-synced folder with your cloud storage to keep it up to date. There are two ways to resync your data. You can perform a manual refresh OR turn ON the auto refresh feature. Both manual and automatic resyncing of your data to your Cloud-synced folder scans your bucket for any changes. New files in your cloud storage import to your Cloud-synced folder. Deleted files in your cloud storage are soft deleted in your Cloud-synced folder.Soft deleted means that the data is not removed physically but is no longer visible to users. Soft deleted data is still available in any Projects where the data resides. Labels can be exported from soft deleted data.
Automatic Refresh
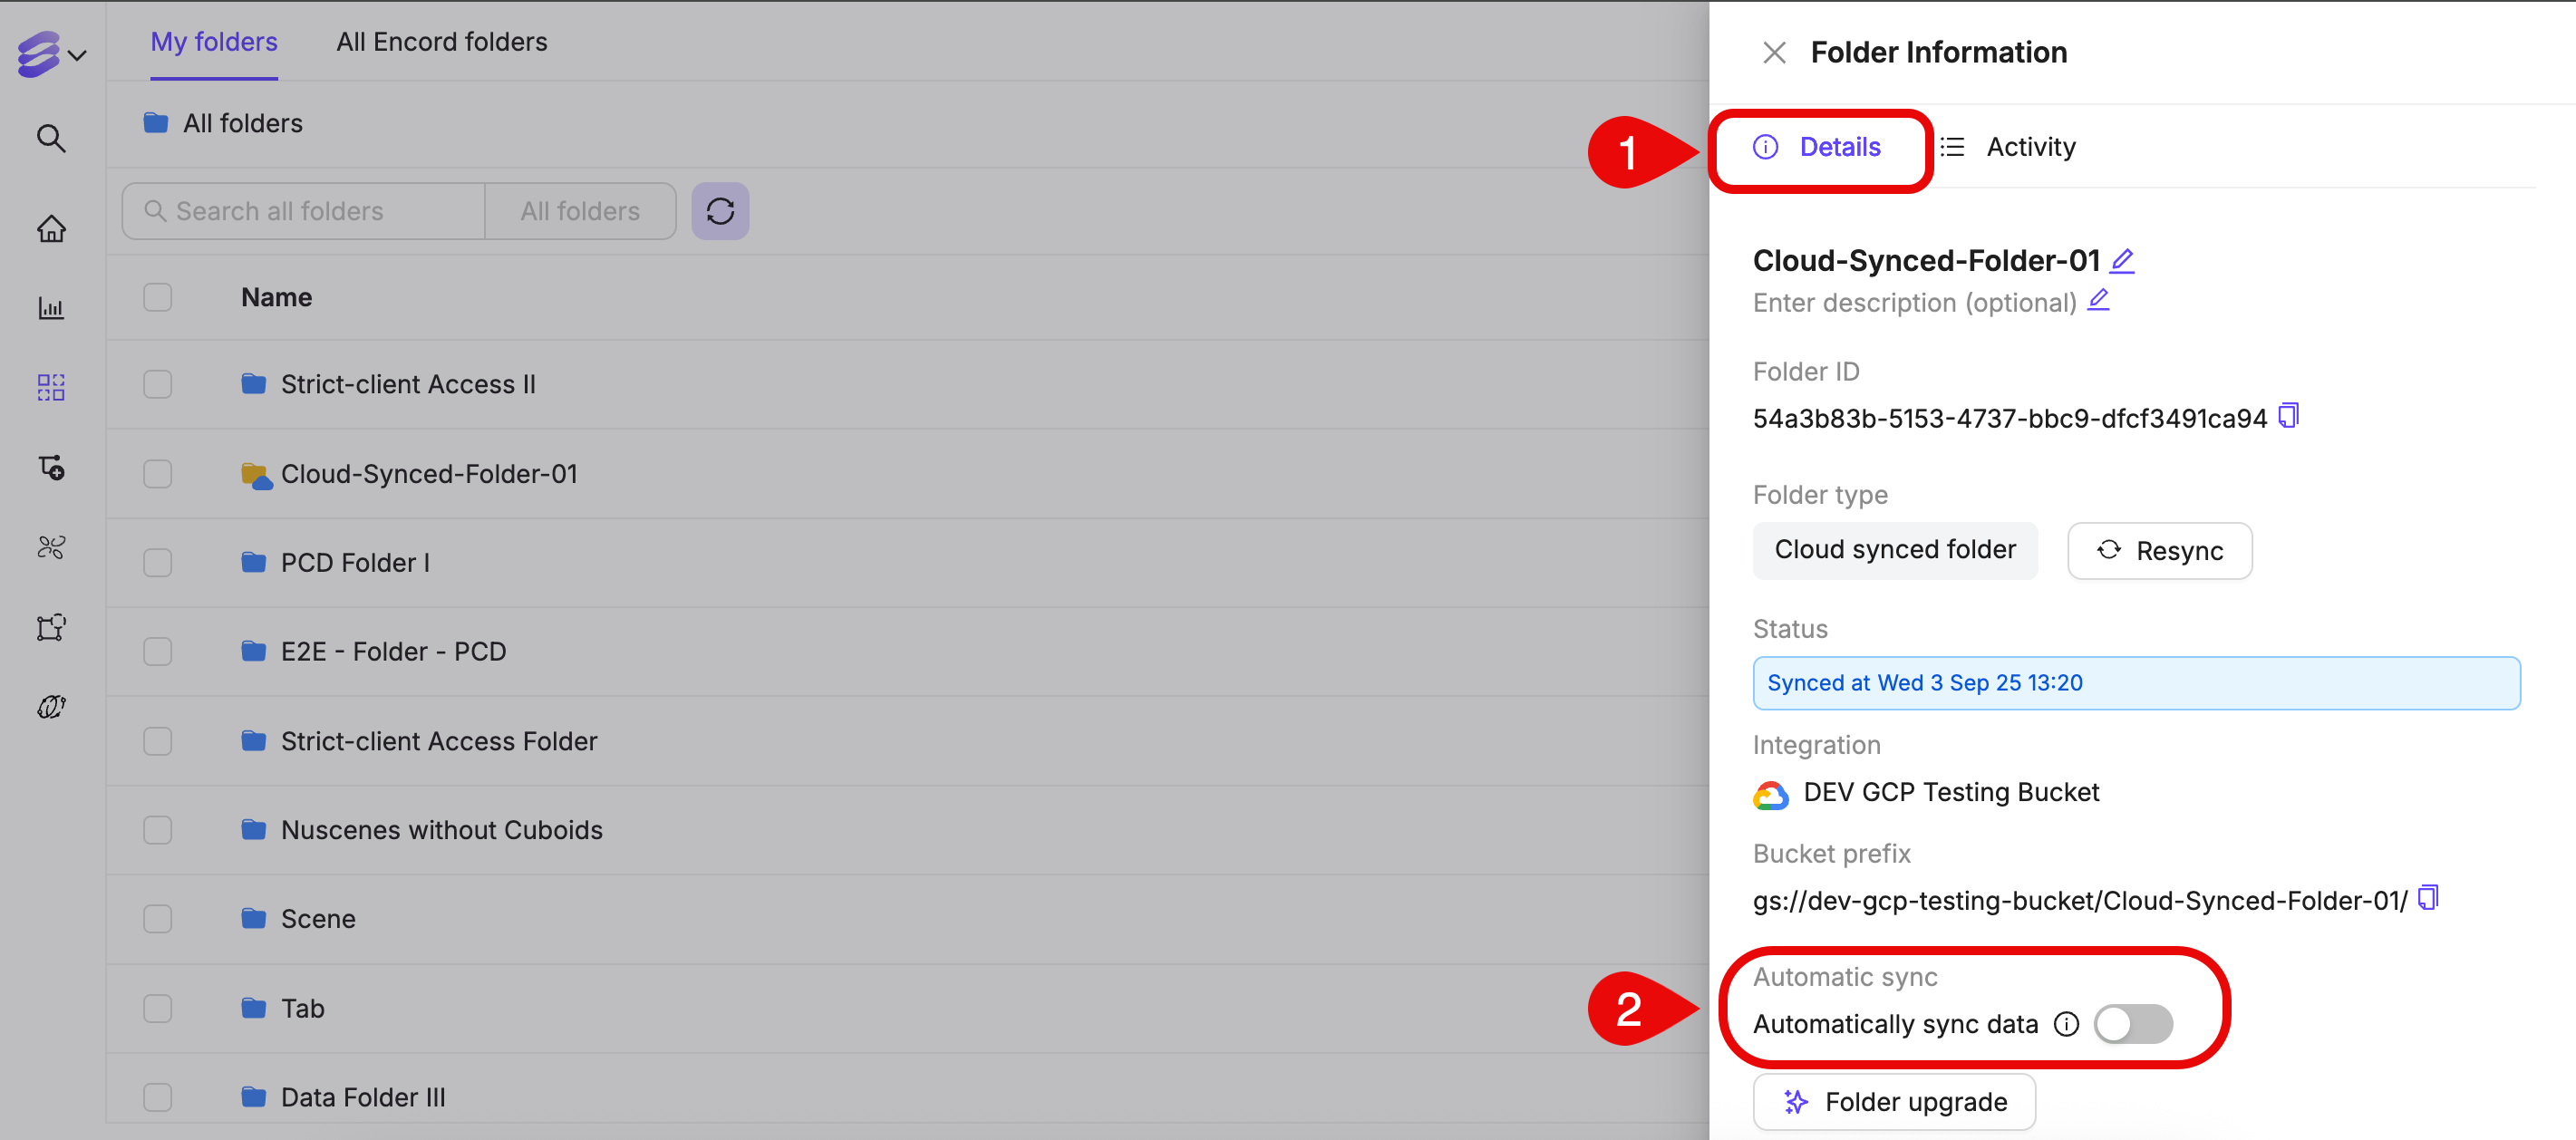
Automatic refreshes occur once every 24 hours. Manual refreshes do not impact the schedule for automatic refreshes. You can turn automatic sync ON/OFF when creating a Cloud-synced folder or from the Details tab for the folder.
Manual Refresh
- Go to Data > Explore.
- Click the info bubble on the Cloud-synced folder you want to resync.
- Click Resync. The resync between the folder and your cloud storage begins.