- Start setting up the integration in Encord.
- Grant service account access and register your storage bucket with Encord.
- Set up a CORS configuration.
Ensure all objects in the bucket use the Standard Storage class.
1. Start Setting Up The Integration
- Navigate to Workspace Settings > Cloud Buckets and click +New integration.
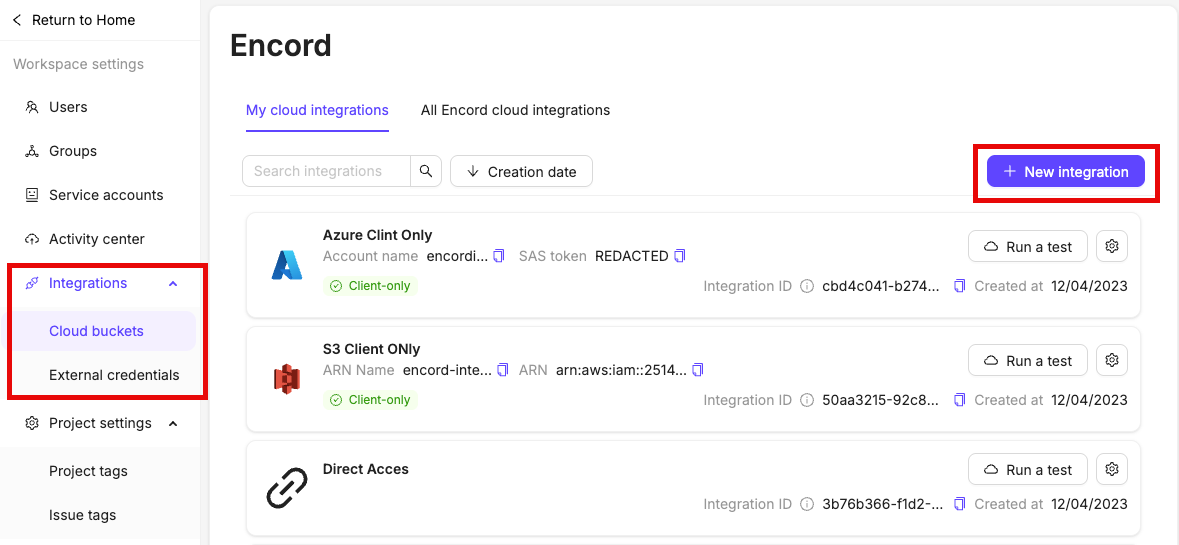
- Select Google Cloud Storage.
- Give your integration a meaningful title.

2. Grant Service Account Access
- Log into your Google Cloud account and navigate to the GCP bucket you want to integrate with Encord.
- Click Grant Access to add a service account for Encord, in the bucket’s PERMISSION tab.
-
Add
cord-cloud-storage-integrator@cord-ai-platform.iam.gserviceaccount.comas a New Principal and assign the following roles:
Storage Object ViewerStorage Object Creator
Storage Object Creator is needed for features that require write permissions, including re-encoding data and creating image sequences.
2.1 Register the cloud bucket with Encord
Paste the name of your GCP bucket into Step 2.1 of the integration in Encord.
3. Create a CORS Configuration
A CORS configuration must be applied to the bucket you want to integrate with Encord. A CORS configuration enables Encord to request resources from the specified bucket.The only way to create a CORS configuration is using the command line or terminal tool.
gcloud command in your command line or terminal to create a CORS configuration.
- Replace <YOUR_BUCKET_NAME> with the name of the bucket you want to integrate.
- Replace
/path/to/you/cors.jsonwith the full path to your JSON CORS file. A sample JSON file is provided below.
JSON configuration file
The following JSON file can be used to set up the CORS configuration in Step 3 of your GCP integration.- Preflight requests are valid for 1 hour. Use the
maxAgeSecondsvariable to adjust the number of seconds the browser is allowed to make requests before it must repeat the preflight request. - Successful browser requests return the
Content-Typeof the resource in the response, as set by theresponseHeader.
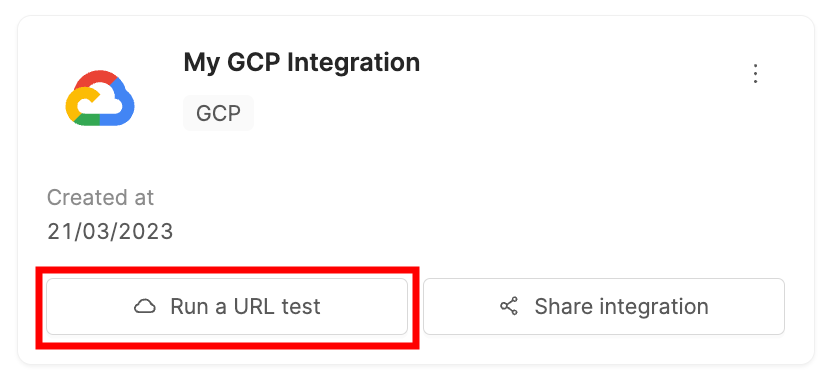
4. Test Integration
Click the Run a test button on the integration to test the integration.